Export and import a custom report
If you want to share a custom report, you can export it and then download to an XML file from Destiny. When you receive a custom report setup in an XML format, you can import it into Report Builder.
To export a report:
- Select Reports > Custom Reports.
- In the Manage your reports section, find the report you want to export, and click
 .
.
- Report Manager displays your report at the top of the list and automatically updates its status. When the status is Completed, do one of the following:
- To view the Job Summary, select View.
- To download the report as an XML file, which can be exported into Microsoft Excel or into Destiny, select XML.
To import a report:
- Select Reports > Custom Reports.
- Click Import report settings.
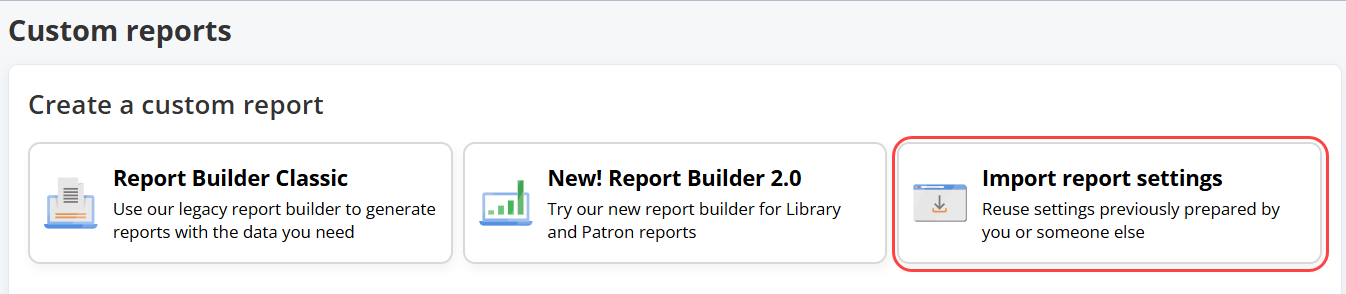
- Click Choose File to find and select the report setup file.
- Enter a new name for the report, if desired; otherwise the report retains the name.
- Click Import Report.
After import, the report appears on the Custom Reports page, in the Manage your reports section.