Ship order (District Warehouse)
After gathering the resources on the pick list, district warehouse users can create a shipment in Resource Manager by barcode or copy count. A packing list can be included in the shipment. After the district warehouse ships the order, ownership is changed to the receiving site in Resource Manager.
To create a shipment for the order:
- Log in to the district warehouse.
-
Go to District Back Office.
- From Catalog > Resource Orders > Track tab, click
 .
. - On the On Order page, click Shipments.
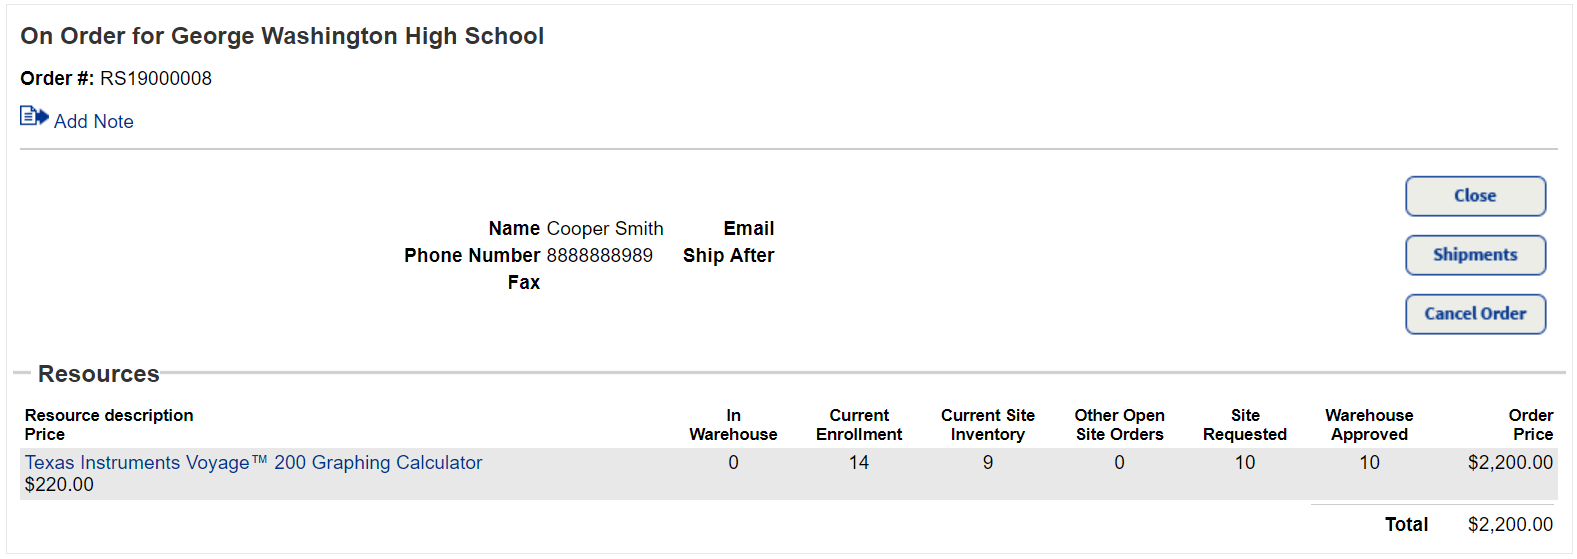
- To add a note, click
 Add Note.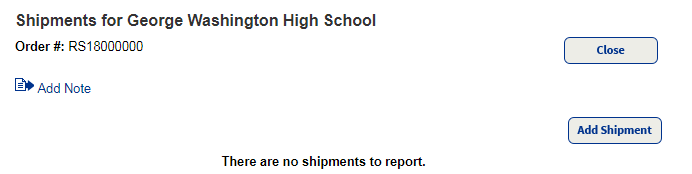
- Click Add Shipment.
- Do one of the following:
If the resource items are… Then... Barcoded 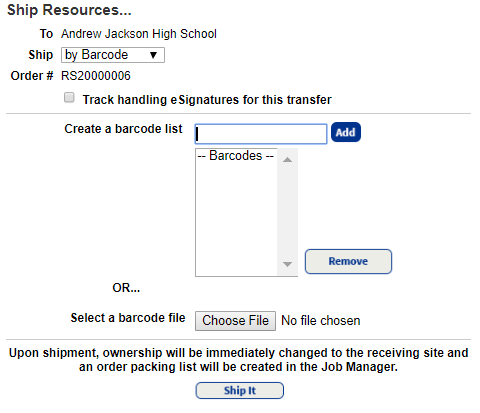
- From the Ship drop-down, select by Barcode.
- To track an eSignature as the resources move through the transfer process, select the Track handling eSignatures for this transfer checkbox.
Note: eSignatures enhance accountability for resource orders.
- Scan the barcodes directly into the Create a barcode list field, or click Choose File to upload a file of the barcodes.
- When you are ready to transfer the resources, click Ship It.
Not barcoded 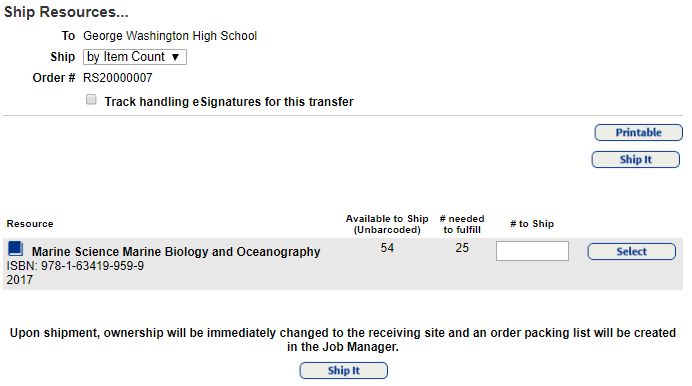
- From the Ship drop-down, select by Item Count.
- To track an eSignature as the resources move through the transfer process, select the Track handling eSignatures for this transfer checkbox.
Note: eSignatures enhance accountability for resource orders.
- Type the number of each resources being shipped in the # to Ship field, and then click Select.
- When you are ready to transfer the resources, click Ship It.
- To print a packing list to include in the box to be shipped, click View Packing List.
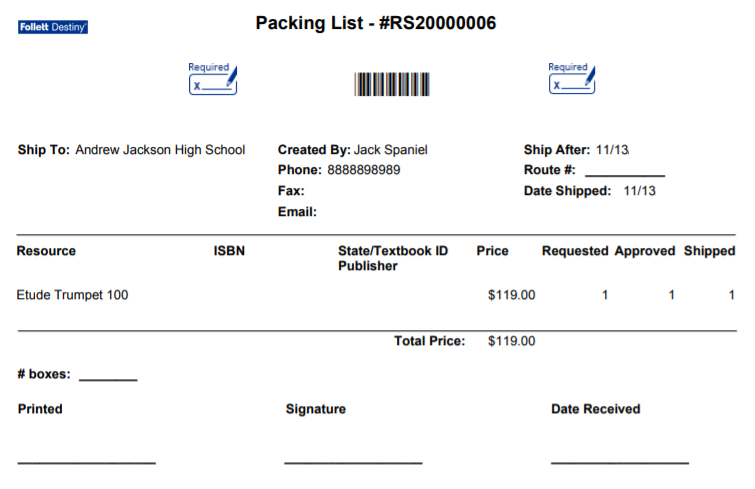
- Pack, and then ship the resources using your preferred method.
The order shows as Shipped on the Track tab.
To see the Job Summary, click View.
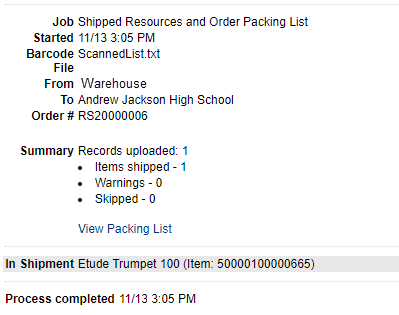
View a shipment
- Select Catalog > Resource Orders > Track tab.
- In the Shipped section, find the order you want, and then click
 . The Shipments page appears.
 - To see shipment details, next to the shipment you want, click Show More.